Monday, July 28, 2014

Greens and Honey

Last week was greens and bacon. This week is greens and honey. Sometimes the secret to delicious greens lies in the pairing.

Chard Greens with Honey and Balsamic, courtesy of
Chef Arlene Coco Buscombe
This week's share will include the following: Snow Peas, Lettuce, Spring Onions, Braising Mix, Chard, Parsley, Fresh Herbs, A Kohlrabi/Hakurei/Broccoli choice, and a tiny taste of Tomatoes OR Eggplant OR Peppers from the hoophouse.

We are starting to edge away from the all greens shares, with snow peas and the first harvest from the hoophouse.

I'm sure everyone is familiar with snow peas. But in case someone out there isn't, they are great cooked quickly in stir fries, raw in salads, or nibbled as delicious snacks.

The hoophouse portion of the share will be small this week, think a half a pound of tomatoes or one large eggplant or a couple of sweet peppers. Literally a taste of things to come...


This week's recipe was inspired by an event held this evening at the Algomah Acres Honey House.


If you aren't familiar with Algomah Acres, you really should be. It is run by beekeeper/meadbrewers Melissa Hronkin and John Hersman. It's also a re-purposed Catholic church, an art gallery (Melissa is an artist and the national award winning art teacher of several of your children), and a really lovely space for events--like the one tonight during which Chef Arlene taught the audience way more than I thought there was to know about honey tasting and cooked delicious chard :)

Find out more about Algomah Acres Here.


The honey tasting was fantastic. Chef Arlene walked us through the tasting of four different honeys. 

The first and third are wildflower honeys from Algomah Acres.
The second and fourth are varietal honeys. The light one is Tupelo
and the darker one is buckwheat.
Did you know there are nine different official aroma/flavor families of descriptives to use when evaluating honey? One of them is animal. Another is spoiled.

I thought the buckwheat honey had sweaty animal notes to it. In a totally
good way. Also a lot of warm toffee flavor.
It's also important to warm your honey before you taste it, to bring out the full flavor.

Melissa warming honey with her hot hands.
After the honey tasting, Chef Arlene presented us with some food pairings. My favorite was the goat cheese with wildflower (or maybe it was tupelo...I tried to take notes, but my fingers were so sticky). 

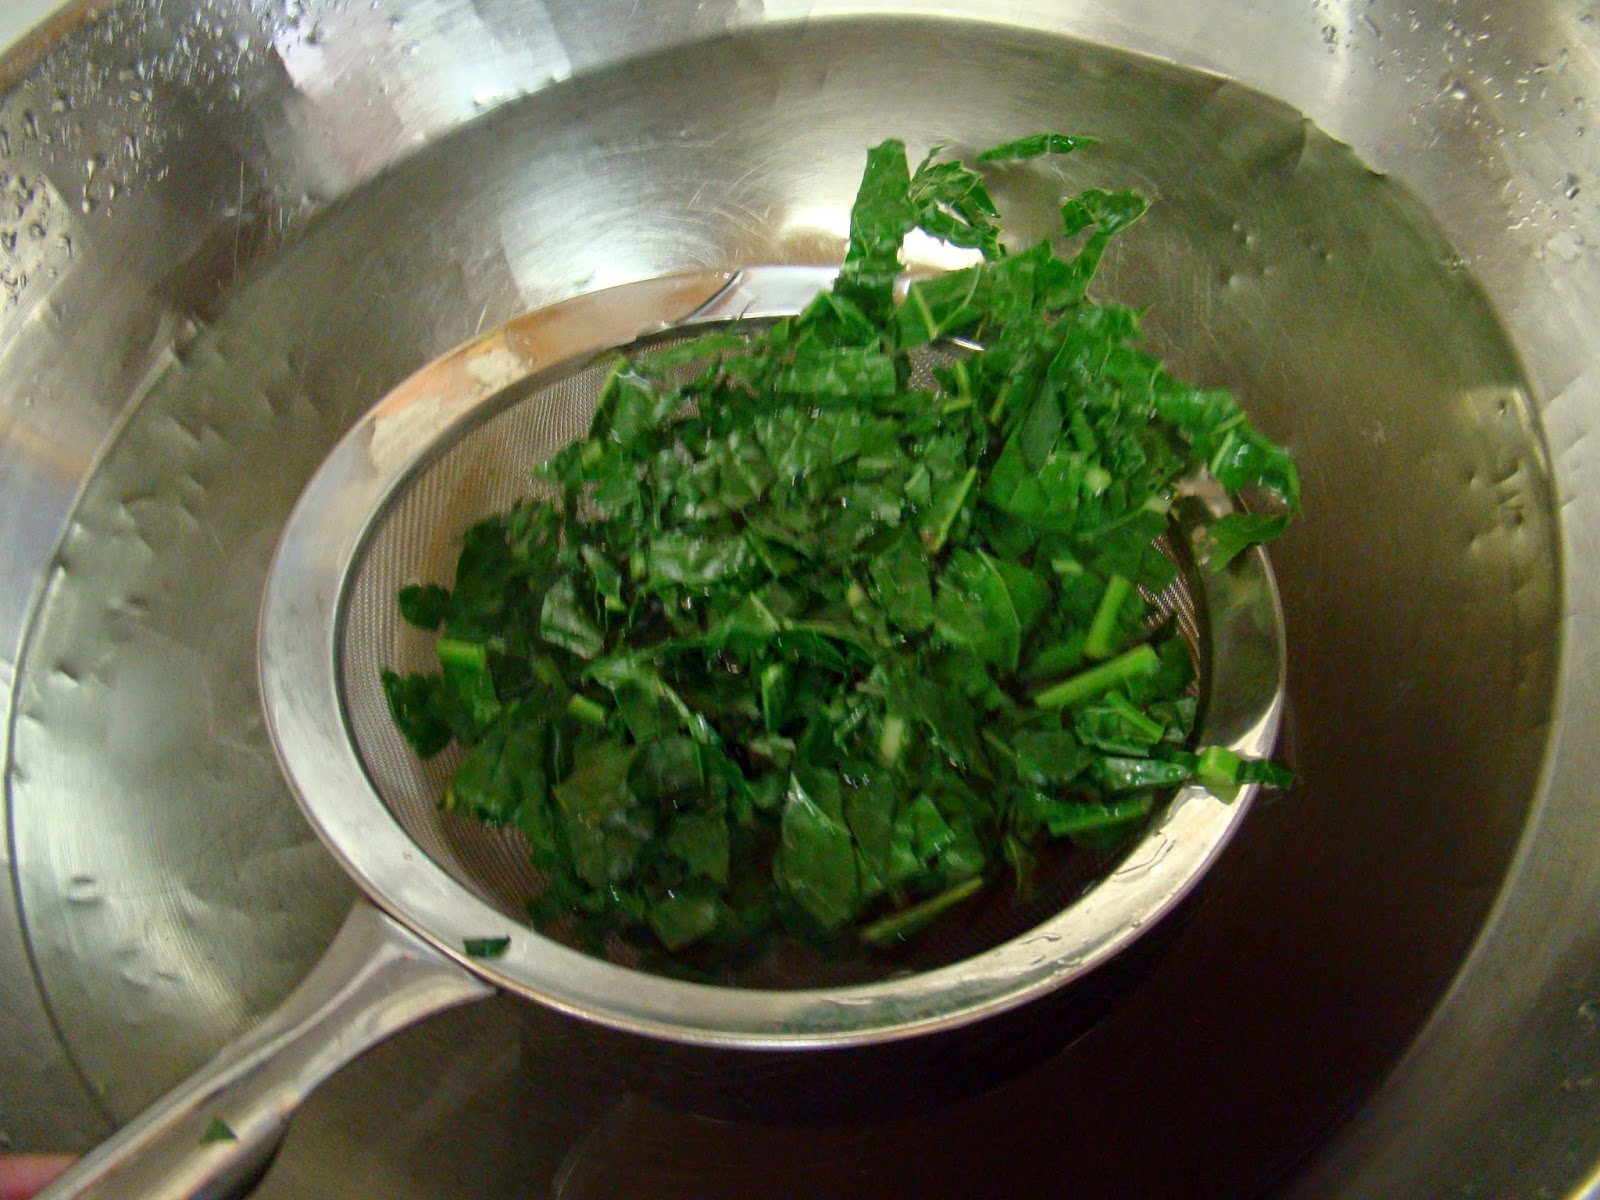
Then she made the greens. There was no set-in-stone recipe involved.

She simply sauteed some chopped garlic scapes (I suggest the spring onions from your share as a substitution) in a few teaspoons of olive oil. Then she added roughly chopped chard, with a bit of wash water still clinging to it, to the pan. She stirred until the chard was just wilted.


Then she stirred in a generous quantity of balsamic vinegar


and a dollop of honey. She used wildflower. This one I wrote down.


Then she sprinkled in a bit of sea salt and that was it. My tablemate, Alison, suggested adding pine nuts. I think that would bring the dish from really good to sensational. I'm glad I sat with Alison.


Tuesday, July 22, 2014

Greens, eggs, and ham

Actually greens, eggs, and bacon, but that doesn't have quite the same ring to it.

Greens and bacon go well together.
It is still solidly greens season at Wintergreen Farm, though (as I always find myself saying this time of year) many non-greens are on the horizon.

For example, squash
However, until the non-greens mature, we are happily harvesting greens, greens, hakurei, and more greens :)

This week's share will include: Braising Mix, Baby Pac Choi, Kohlrabi, Parsley, Chard or Kale, Hakurei, Lettuce, and Fresh Herbs. All of these things are good with bacon.

A couple of this week's items will be new to new members, namely the Pac Choi and the Hakurei. 

Baby pac choi in the field. We'll pick out the weeds for you.
Baby pac choi can be used very similarly to the braising mix, cooked in a stir fry (scroll to the bottom of this post from the 2011 season for my beef and pac choi stir fry recipe), or eaten raw. I'm told it's good dipped in ranch.

I think hakurei might be my favorite root vegetable. As least until the
main crop carrots are ready.
Hakurei are also called salad turnips. They're more like a radish than a turnip and really they are better than both. They can be eaten raw or cooked, either way be sure to toss in the greens as well. If you want some detailed suggestions for preparing hakurei, I suggest the pinterest board.

And now, back to bacon. Greens and bacon (or salt pork) really do go well together. And pairing them is a great way to convince reluctant family members of the goodness of greens. It's also a super fast and simple way to cook up greens. 

Greens, Eggs, and Bacon

We harvested the first rutabaga of 2014 today, just to see how things were coming along (they're coming along deliciously, if you're wondering) and I actually used some of the leaves from that in this recipe, rather than the kale or kohlrabi leaves listed below. Since I had bacon going, I poured off a little of the fat from my bacon pan into a separate pan and sauteed the rutabaga (which I had cubed) in it until it was tender and golden. The same could be done with your kohlrabi, if you're into that sort of thing.

Ingredients:

     8 ounces thick cut bacon
     1/3 pound braising mix (the amount in your share) chopped into bite sized pieces
     5 kale or kohlrabi leaves (or rutabaga leaves if you've got them), also chopped
     8 eggs
     salt and pepper to taste

Cook the bacon until it is crisp in a large frying pan. Remove the bacon from the pan and allow it to cool slightly.

While the bacon is cooling, turn the heat on your pan (the one that't still full of sizzling bacon grease) down to low and toss in your chopped greens. Watch out as you do this, the hot grease will splatter. Especially if there is a lot of water clinging to your greens.

Stir them a bit until they have wilted and turned bright green. Make eight little "nests" in the greens and crack an egg into each one. Crumble your cooled bacon and sprinkle it over the top of the greens and eggs. It should look something like this:

 
Place a lid over the pan and cook until the eggs are set to your liking. It took about 15 minutes for me. At which point my food looked like this:

Sprinkle a bit of salt and/or pepper on the eggs at this point if you like.

It looked like this on my plate. There are three eggs hiding under
that pile of greens. The cubes are the rutabaga I mentioned above.
Potatoes would be almost as good.


Monday, July 14, 2014

Week Two: Using Your Whole Share

This week, about half of the members will be getting a bunch of adorably nubby carrots in their share. (The rest will receive a bunch of Hakurei, or beets, or a few insanely precocious peppers from the hoophouse.)

precocious peppers
 The carrots are a variety called Tonda di Parigi, similar to thumbelinas. Normally these little round carrots are grown by folks with heavy soil, but we tried them this year as part of our early transplant experiment (like last week's beets). I would say the carrot portion of the experiment was semi-successful. The yield of carrots we are seeing is not great, considering how many seeds we planted (which is why only half the members get carrots this week), but they are quite good. So, I guess it's a matter of quality over quantity as far as these carrots are concerned.

Adorable, delicious, low yielding Tonda di Parigi carrots. 
In addition to carrots or other things, members will receive: Kale, Head Lettuce, Scallions or Spring Onions, Radishes or Kohlrabi, Braising Mix, Spicy Salad Mix (which includes mustard, mizuna, and arugula), Parsley, and a choice of fresh Herbs.

kohlrabi
Some of you new members might be wondering about the kohlrabi (though, happily, kohlrabi has become much more mainstream in the last few years). If you are one of the curious, head over to the kohlrabi pinterest board for some satisfaction.

So, perhaps you were looking at the carrot photo above and you thought to yourself 'Wow, those carrot greens sure are beautiful, and abundant. Too bad I can't cook those up.' Well, if you were thinking that I have some news for you: You can totally cook carrot greens. Why not?

Just think of them as a mix between parsley, celery, and carrots. Tasty, right?

When I went to culinary school, the chefs very specifically said that we should never use "trimmings" (like carrot greens or peelings or onion rootlets) in stocks. But honestly, that makes no sense. It's just snobbery. There is good flavor and nutrition in the trimmings. Often the only reason people don't cook with them is that the texture is not ideal, or because they simply don't realize they can. 

But stock is not the only thing trimmings are good for. Please enjoy the following example:

For dinner tonight I started with a wee bit of stuff from the share. Three carrots
and three scallions (one spring onion would be fine too). Doesn't look like
much, right?
But it's actually a cutting board full of food. On top, the scallions and
stemmy portions of the carrot greens, is what I used in the recipe. The carrots
themselves were devoured raw by Seda, and the leafier green portions
and scallion rootlets went into the freezer for a future batch of stock (and a
future blog post).
Here is the recipe:

It's based on a recipe from a cookbook called the Bean, Pea, and Lentil Cookbook, by Maria Luisa Scott and Jack Denton Scott. The original recipe calls for shallots and celery, rather than scallions and carrot tops. My mom used to make this recipe when I was growing us and she always used scallions (because the kid that worked in the produce department at meijers told her they were shallots!). I don't believe she ever made it with carrot tops. Feel free to use any green thing you like in place of the carrot tops. Parsley would be good, but so would radish tops or kale or braising mix...

Lentil Pilaf

Ingredients:
     One cup Brown Rice
     One cup Green Lentils
     3.5 cups Water or Stock
     1/2 teaspoon salt (or more to taste)
     1 to 2 tablespoons olive oil
     The greens from three carrots, leafiest portions removed
     Three scallions or one spring onion

Combine the rice, lentils, water or stock, and salt in a medium sauce pan. Bring the water/stock to a boil over high heat, cover, and reduce the heat to low. Leave the pan covered, to simmer, for approximately 45 minutes.

After 45 minutes, chop the scallions and carrot tops so they look like this:


Heat the olive oil in a small saute pan over medium heat. Briefly saute the carrot tops and scallions, just until tender.

At this point, the rice and lentils should have finished cooking. If not, allow them to continue cooking until they are done to your liking.

Stir the scallions and carrot tops into the rice and lentils. That's it.


Monday, July 7, 2014

Week One 2014: How to make the most of your Greens

The first share is here. And, like most early season CSA shares, it is full of delicious green stuff.

Like this
Members will receive the following this week: Kale, Lettuce (either leaf or head, depending on supply), radishes, beets, braising mix, a choice of fresh herbs, and scallions or garlic scapes.

That should all be pretty familiar to returning members, but not all members are returning members. So bear with me while I dish out some details on those items that require them.

First, the beets.


In years past we have started early beets in our hoophouse. This year our hoophouse is brimming with extremely productive tomatoes.

Even Scott is impressed by how well the tomatoes are doing.
So, for the first time, we started an early round of beets as transplants in the greenhouse. The experiment appears to have gone well (as evidenced by the beet photo above) but we didn't start a ton of them so they will be a fleeting pleasure until the late beets come in. If you want to savor them, I suggest the early beet recipe from 2012 (click here). And don't forget to eat the greens! More on that below.

Braising mix will be new to some folks. It's a mix of cooking greens. It can be eaten as a salad by those with adventurous taste buds, but most members find they prefer the assertive flavors of braising mix in stir fries, soups, or other traditional cooked greens recipes. This week's mix will include baby chard, mizuna, dandelion, and orach. If you are itching to know which is which, you can find a list of the various greens we grow (with photos) here. If you want a plethora of ideas for using your greens, including some from the blog and some from other sources, check out the Wintergreen Farm braising mix Pinterest board

The last item that requires comment is the optional garlic scapes. If you haven't seen them before, you are in for a treat. Their curl-i-que growth is lots of fun and they taste like garlicky scallions. What's not to love? Chop them up as you would chop scallions and use them in any recipe in place of garlic or scallions.

Since three of the share items are straight up greens (lettuce, kale, and braising mix) and two of the items (beets and radishes) are sprouting delicious bonus greens (yes, radish greens are edible--we like them best cooked. Add them to your braising mix!) you might be wondering what to do if the abundance of greens this week gets ahead of you.

Freeze them.

It's fast and works with any cooking green (I suppose you could freeze lettuce, but why?). Don't forget about your beet and radish greens, they fit in perfectly with the braising mix and roots will last longer if you top them. The greens pull moisture out of the roots even while they are in the fridge.

This is how I do it. I used a bunch of farmer kale (which means kale that the caterpillars got to) for the photo-tutorial so please pardon the holes. Also pardon the blurry photos. It's challenging to photograph my own actions :)
Be sure you start by washing your greens well. Swish
them around in a sink or bowl full of water, then let
them sit for a moment so dirt can settle to the bottom.
This eliminates lingering grit.
Chop them up.
Blanch the greens by dipping them very quickly into a
pan of boiling water. A stainless steel sieve works well for this.
Be forewarned, your camera lens will steam up at this point.

Dip them in cold water to stop the cooking. Notice how
bright green they are now. This only took a couple seconds
in boiling water.
Squeeze out the water and form the greens into a ball.
Now freeze the ball as is. You can slip it in a ziploc bag or
whatever is convenient and add other extra green balls
throughout the CSA season. This winter, just grab a ball of
greens and add it to a soup, quiche, or whatever strikes your fancy.