The first share is here. And, like most early season CSA shares, it is full of delicious green stuff.
 |
| Like this |
That should all be pretty familiar to returning members, but not all members are returning members. So bear with me while I dish out some details on those items that require them.
First, the beets.
In years past we have started early beets in our hoophouse. This year our hoophouse is brimming with extremely productive tomatoes.
 |
| Even Scott is impressed by how well the tomatoes are doing. |
Braising mix will be new to some folks. It's a mix of cooking greens. It can be eaten as a salad by those with adventurous taste buds, but most members find they prefer the assertive flavors of braising mix in stir fries, soups, or other traditional cooked greens recipes. This week's mix will include baby chard, mizuna, dandelion, and orach. If you are itching to know which is which, you can find a list of the various greens we grow (with photos) here. If you want a plethora of ideas for using your greens, including some from the blog and some from other sources, check out the Wintergreen Farm braising mix Pinterest board.
The last item that requires comment is the optional garlic scapes. If you haven't seen them before, you are in for a treat. Their curl-i-que growth is lots of fun and they taste like garlicky scallions. What's not to love? Chop them up as you would chop scallions and use them in any recipe in place of garlic or scallions.
Since three of the share items are straight up greens (lettuce, kale, and braising mix) and two of the items (beets and radishes) are sprouting delicious bonus greens (yes, radish greens are edible--we like them best cooked. Add them to your braising mix!) you might be wondering what to do if the abundance of greens this week gets ahead of you.
Freeze them.
It's fast and works with any cooking green (I suppose you could freeze lettuce, but why?). Don't forget about your beet and radish greens, they fit in perfectly with the braising mix and roots will last longer if you top them. The greens pull moisture out of the roots even while they are in the fridge.
This is how I do it. I used a bunch of farmer kale (which means kale that the caterpillars got to) for the photo-tutorial so please pardon the holes. Also pardon the blurry photos. It's challenging to photograph my own actions :)
 |
| Be sure you start by washing your greens well. Swish them around in a sink or bowl full of water, then let them sit for a moment so dirt can settle to the bottom. This eliminates lingering grit. |
 |
| Chop them up. |
 |
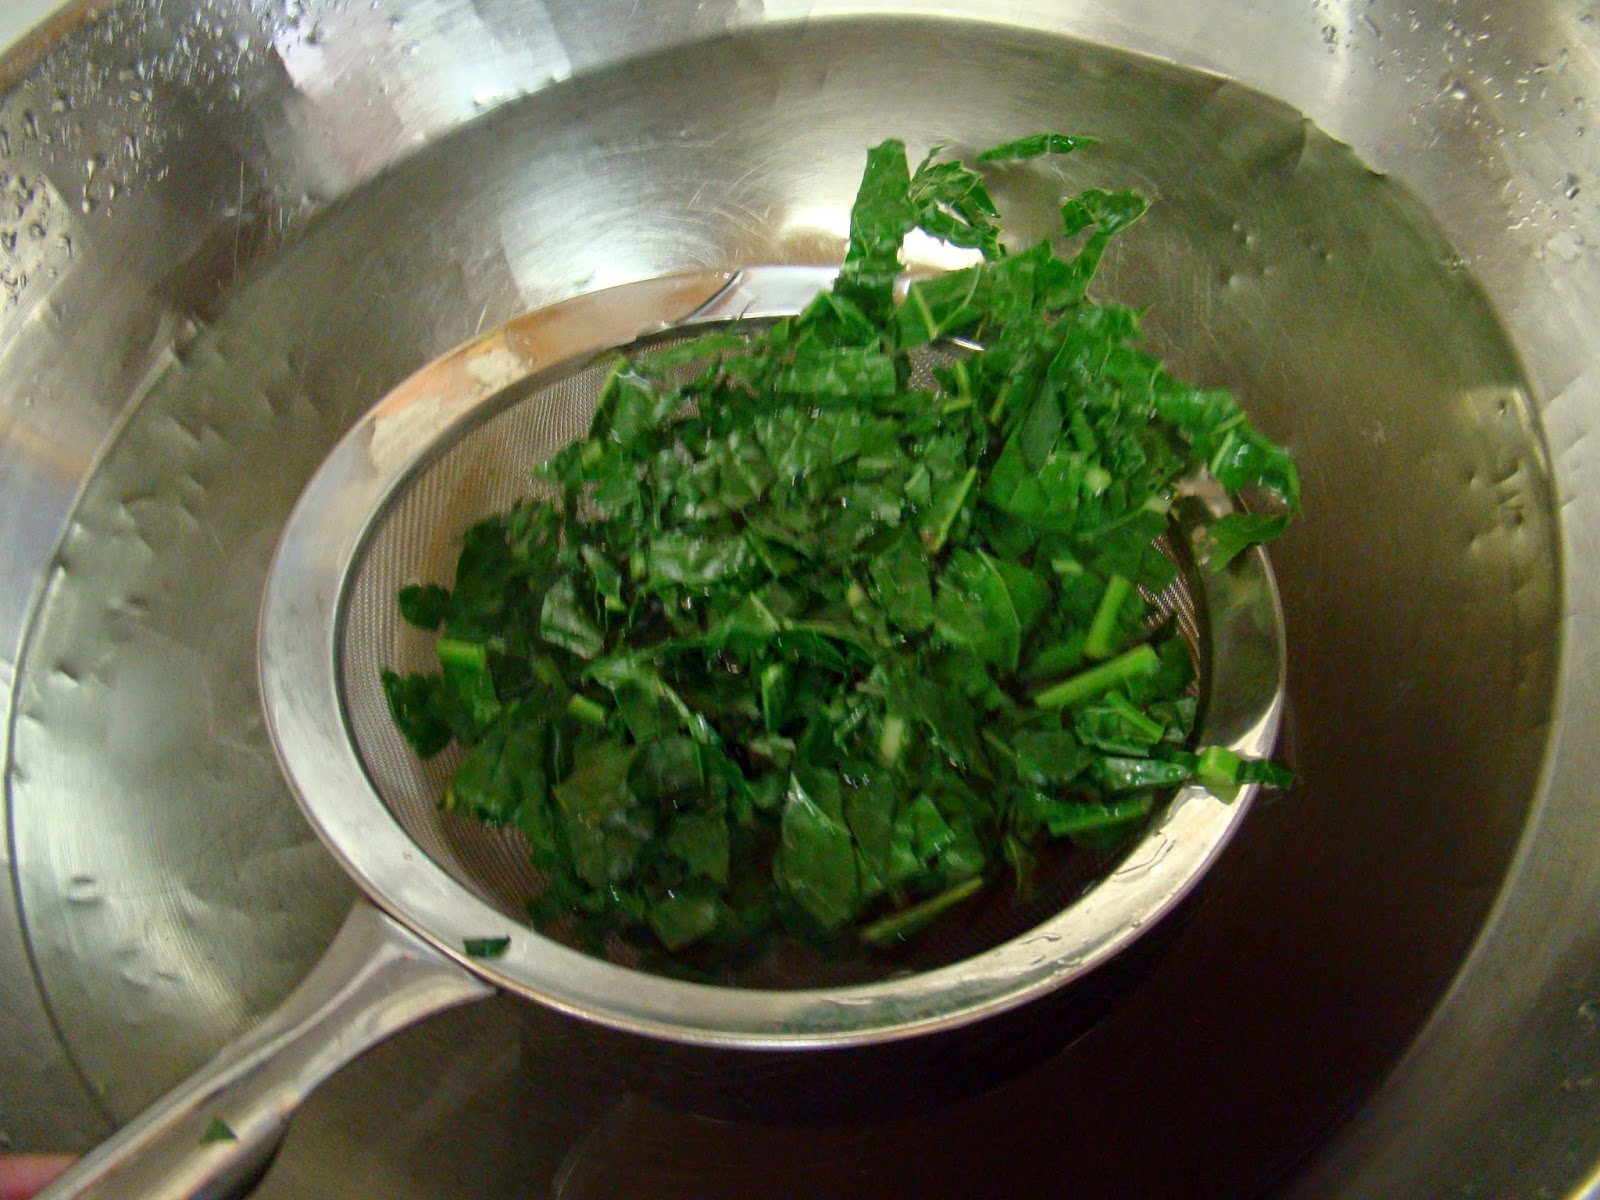
| Blanch the greens by dipping them very quickly into a pan of boiling water. A stainless steel sieve works well for this. Be forewarned, your camera lens will steam up at this point. |
 |
| Dip them in cold water to stop the cooking. Notice how bright green they are now. This only took a couple seconds in boiling water. |
 |
| Squeeze out the water and form the greens into a ball. |


No comments:
Post a Comment