Sunday, August 31, 2014

We got Audited!

GAP audited that is.

GAP stands for good agricultural practices. GAP is a voluntary USDA inspection/certification program for farms that want proof they follow reasonable food safety protocols when growing and harvesting produce.

It's kind of a pain in the butt.

This is the cover page of our GAP log book. All those tabs
indicate logs we must fill out or on-farm food safety policies we
need to be aware of as we work.

The audit process is less an inspection of our farm, than an inspection of our log book, which is, you know, not fun. So why did we do it?

Well, GAP certification is a valuable thing for a farmer that wants to sell to institutional customers like schools, hospitals, grocery stores and restaurants. See, the farm to table movement is awesome for bringing local food to individual farmers market or CSA customers, but, while every consumer wants to buy the healthiest food possible (for both their body and their community) not every consumer is able to buy all of their food directly from a farmer or has the opportunity to tour every farm they are interested in buying from to ensure appropriate farming practices are followed.

Getting local food in every mouth in the community means small farms need to make institutional sales and local produce processing facilities need to exist. Farmers can't sit back and expect the world around us to change in a way that brings every hungry person directly to us, we need to change the world ourselves by jumping on to the path that leads to every table in our region.

Sometimes that path looks strange to idealistic farmers. Right now it's mainly tread by large agribusinesses that aren't concerned with producing food that increases the health of the land, local economies, or even the people that eat the food. But it doesn't have to be that way. The path isn't the problem, and it is possible for small farms to take it.

GAP certification is, for us, one of the many steps we can take to boost ourselves onto that path. It's also a part of keeping our farm open to our community and making our farming practices and goals obvious to anyone curious about them. The certification isn't anything like a member work day that brings CSA families out to our farm where they can learn how we farm by helping us do it. The certification is proof that we are using appropriate farming practices, so that the local school cafeteria manager can feel confident purchasing our produce. It just isn't possible for the average cafeteria manager to come spend a day on the farm.

One of the best things about our GAP certification process is that it has been a local process. There have been no anonymous "they" type auditors swooping onto our farm to tell us what we can and can't do. We have been fortunate to be a part of the Group GAP program via the U.P. Food Exchange. That's meant our experience with the GAP certification process (however frustrating it might be) has involved discussing appropriate farm practices and even pooling resources with other farmers in the region. The majority of the farm visits (including our audit) have been done by people we know and trust. People we were already partnering with to bring healthy food to our community.

People like Denina Kaunonen (from the Keweenaw Co-op) and Neal Curran
(from the Marquette Co-op). They're the lucky ones who got to wade
through my log book at audit time.

In the end a handful of the farms that are part of this Group GAP group will be audited by USDA inspectors, to ensure that we have developed appropriate standards as a group. And that's it. The rest is all about self regulation, teamwork, and trust between the farmers and other partners that have chosen to be a part of this Group GAP program.

So, while it's true that log books themselves will never be bucolic, our GAP audit was a valuable part of building the healthy rural community we're a part of. That's why we did it.

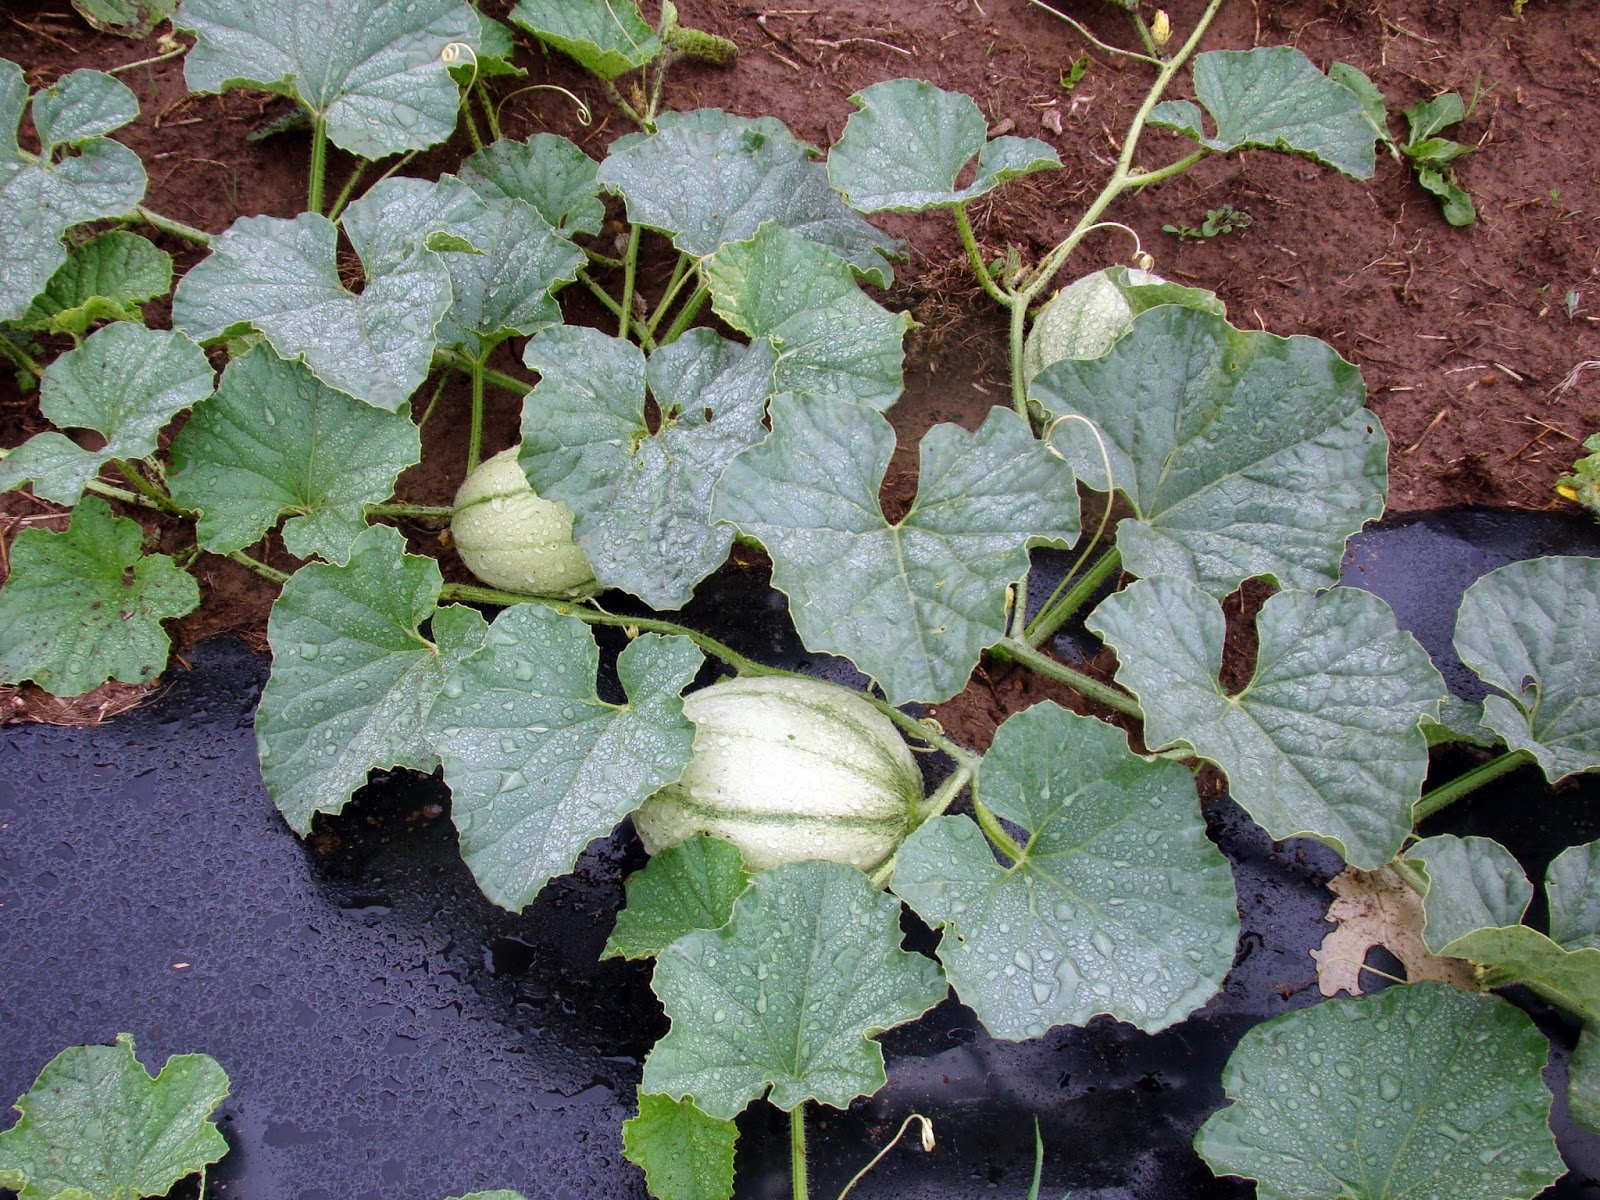
And the GAP auditors did have a chance to bring their
clipboards out for a little fresh air.


Monday, August 25, 2014

Week 8: A little Ecology with your Potatoes

Once upon a time, Scott and I went to college. Me for botany and Scott for fisheries and wildlife. (I think back to school season is making me nostalgic.)

We met in an ecology class at Michigan State, which ties into the thing I wanted to share with you all this week. This thing:


While enjoying this week's share (which includes Chard, Purple Beans, Peas (the second planting is producing), New Potatoes, Rutabaga, Summer Squash, Mini-Cabbage, Cucumber, Fresh Herbs, Lettuce and Tomatoes) please consider the above video.

As sustainable farmers, we try to grow your food in a way that works with and maintains the feedback loops of the environment around us. For example, we encourage predatory insect populations instead of simply killing every pest on our farm with broad spectrum insecticides. That's why you generally see a few bug holes in your leafy greens. If we killed off all the pests, the predators would have nothing to eat. And we love the predators.

Especially ground beetles, which are very prolific this year.

Another thing we give a lot of thought to is, of course, soil health. Especially the organic components of our soil, or the humus that was mentioned in the video. Of course, a large portion of the plants that we grow on our farm are eaten. They don't get a chance to rot in our fields and become humus. That's why compost is such an important component of sustainable farming. Compost heals the feedback loop that was disrupted when we (or our customers) stepped in and ate the vegetables we grew. Synthetic fertilizers make plants grow, but only by further disrupting the feedback loop that builds healthy soil and healthy plants.

(On a related note, Scott and I get kind of irked when people describe unharvested vegetables as food waste. There is certainly an amount of economic waste involved, but the nutrients in the vegetables go back to the soil--entirely unwasted. Food that ends up in landfills is a different story.)

If you have read this far, thanks for following me along my educational tangent. I hope you found it helpful. Now back to the potatoes, and rutabaga.

I know a few of you have been wondering what you should do with your rutabaga. I have been waiting for this week so I could give you my favorite answer: Mash it up with potatoes. It couldn't be simpler.

New potatoes are coming at you this week.
I feel like I've been kinda big on the unrecipes this year, but it's been a very busy season, what with growing more than twice the acreage we've grown before and everything.

That half acre of storage carrots we planted is coming along nicely!
I am comforting myself with the knowledge that all of our members have a lot of busy days too, so hopefully you appreciate the quick simple recipes as much as the more intricate ones.

Mashed Rutabaga and Potatoes

I remember when I was little my mom only made mashed potatoes on Thanksgiving. It was a slow process that involved peeling potatoes and boiling them whole until they were tender. I don't do it that way. The way I do it is as fast and easy as making pasta.
  • 1 large rutabaga (about a pound) trimmed and cubed
Like this.
  • 1 pound potatoes (new or otherwise) diced to about the same size as the rutabaga pieces
  • salt to taste
  • butter to taste (I used about half a stick)
  • milk to taste (I used about half a cup)
Boil the diced rutabaga and potatoes until they are tender, about 15 minutes. Drain the rutabaga and potatoes, then return them to the pot you cooked them in. Add salt, butter, and milk, then mash away. I like to use an old fashioned potato masher for the coarse texture and ease of clean-up, but a rotary mixer makes a creamier texture that many people prefer. 

Pair them with the meat of your choice.

We went with sliders. They work in our repurposed diner.

Monday, August 18, 2014

Week Seven: Summer...Sort of

Last week was pseudo fall, so it seems fitting that this week would sort of be summer. (Fitting in the sense that U.P. weather has no rhyme or reason.)

I heard a rumor that there was some frost a few days ago over near Marquette. I'm hoping it was just a horror story.

Because, though the weather disagrees, the vegetables are starting to think it's summer...sort of. And I'd like them to keep thinking that.

This week's share will include: Chard, Summer Squash and/or Zucchini, Green Beans or Fava Beans or Peas, Parsley, Rutabaga, Mini Cabbage, Endive and Tomatoes (or eggplant or peppers)

Did you catch the summer squash and green beans? Those are the summery parts.

The squash are finally coming on strong enough that everyone gets some.
The green beans are just starting (and actually they're purple) but
soon there will be enough for everyone :)
The muskmelons think it might be summer too.

Hopefully the frost will hold off long enough for these guys to ripen.
In the meantime, we will eat our summer squash and zucchini and pretend it's actually warm outside.

If you want, you can make your squash into delicious fritters. Like these:

We had them with braised chard for lunch.

Summer Squash (or zucchini) Fritters
  • 1 large (or two medium) summer squash, chopped into 1/4 inch pieces
  • 1/2 bunch parsley, minced
  • 1/2 tsp salt
  • 1 cup flour
  • 1/2 cup grated Parmesan cheese
  • 1/2 cup milk
  • 2 eggs
  • butter for cooking
When I say large squash, I mean about this size:

This is a large 8 ball zucchini.
Toss together the chopped squash, minced parsley, salt, and Parmesan cheese. Stir in the flour and mix until the squash is well coated with flour.

Combine the milk and eggs and stir the mixture into the zucchini. It will be very very chunky, with just enough batter to glue the zucchini together.

Like this.
Melt a generous amount of butter over medium heat, and cook the fritters more or less the same as you would pancakes. I feel like a lot of my recipes include instructions that reference pancakes...

These will take a bit longer to cook than plain pancakes would, because of the extra moisture in the squash.


Monday, August 11, 2014

Week 6: Pseudo Fall

It's August 11th and I know that by the time distribution is done for week six it will most likely be in the 80's again, but for now it is chilly and grey.

A chilly and grey day is a great day to transplant fall kale.
Great for the kale, not so much for the farmers.
Also, we have rutabaga in the shares this week. Cold grey weather + fantastic rutabaga = fall as far as I'm concerned. I'm just going to go with it.

In addition to rutabaga, the week 6 share will include mini cabbage, snow peas, parsley, scallions, tomatoes or eggplant or peppers, broccoli or cauliflower or kohlrabi, kale or chard and fennel.

Did I mention the rutabaga is fantastic?

And gorgeous.

It's a variety we have grown for a few years now, called gillfeather turnip. Even though it is called a turnip, right there in its name, it is a rutabaga. They're not actually the same thing.

And this rutabaga has a backstory. Apparently the grower that developed it back in the early 1900's, John Gilfeather, knew that he had something good, and he didn't want other growers to be able to compete with him. All these year's later Gilfeather's variety still outshines other rutabaga. It's even a slow food ark of taste vegetable. Here is what the slow food folks have to say about it:

The Gilfeather is an egg-shaped, rough-skinned root, but unlike its cousins, it has a mild taste that becomes sweet and a creamy white color after the first frost. While the hardy Gilfeather turnip does well in nearly any climate, this touch of frost contributes to its unusual taste and texture. Developed and named after John Gilfeather from Wardsboro, Vermont, this turnip is one of the state’s unique contributions to cold weather agriculture. Mr. Gilfeather carefully guarded his stock to ensure that no one else could propagate the vegetable. However, some seeds slipped by and a few folks have continued to grow the Gilfeather Turnip after Mr. Gilfeather died.

Sweet and creamy may not be what jumps to mind when you hear rutabaga, but gilfeather turnips really are both. 

Even when they are as gnarly looking as this one.
I just cooked that scary looking rutabaga for dinner tonight. In the form of rutabaga au gratin. The texture could best be described as silky.

Rutabaga Au Gratin

1 medium or half a large rutabaga
1 tablespoon butter
1 tablespoon flour
1 cup milk
1/4 teaspoon nutmeg
salt and pepper to taste
1/2 bunch scallions, sliced
1/2 bunch parsley, minced (stick the parsley stems in your freezer for stock!!!)
1 small fennel bulb, sliced (save the leafy fronds for something else--I recommend making syrup out of them)
3-4 Chard or Kale leaves, sliced thinly (I like the chard, it brings another flavor to the dish)
1 cup grated cheese

Preheat the oven to 350 degrees

  • Bring a pot of lightly salted water to the boil.
  • Toss together the sliced scallions, parsley, fennel and chard or kale, set aside.
  • Peel your rutabaga as much as you deem necessary and slice it into pieces approximately 1/4 inch thick.
I only remove the "hairy" parts I can't scrub all the dirt out of and any especially
thick hunks of skin. It works well for me. (I'm on a minor quest to convince people
that peeling root vegetables is almost always unnecessary.)
  • Boil your rutabaga slices for about three minutes. Drain and set aside. This makes their texture extra silky without leaching out too much flavor.
  • Melt one tablespoon butter over low/medium heat. Stir in flour and nutmeg to make a paste (you're making a roux). Stir until the flour/butter mixture is just starting to turn golden.
  • Remove the roux from the heat and stir in one cup of milk. Stir your heart out until you can't see any lumps.
  • Return the pan to low/medium heat and stir until it has thickened slightly. If you aren't sure whether it has thickened or not, taste it. When it is ready, you won't notice a starchy flour taste anymore.
  • Once the sauce is thickened, taste it for salt and paper. Then swirl the bottom of a small casserole dish with some of the sauce.
  • Add a layer of rutabaga, then a layer of chard/kale and whatnot, then a layer of grated cheese.
If you are like me and have a bunch of old restaurant equipment on hand,
things will look like this now. 
  • Continue layering sauce, rutabaga, veggies, and cheese until you run out of ingredients. End with cheese.
  • Bake at 350 for 30-40 minutes.
Eat it up when it looks like this.


Monday, August 4, 2014

Week 5: Peak Kale

The week five share will include: Kale, Snow Peas, a Tomato/Eggplant/Pepper choice, Herbs, Parsley, Kohlrabi, Head Lettuce or Escarole, Scallions and Mini Cabbage.

What's a mini cabbage? you may be wondering. It's exactly what it sounds like, a small cabbage. We grow a variety called gonzales, which is full size at 4 to 6 inches across. These are not sauerkraut cabbages. These are slice it up, toss it with something tasty, cook it fast (or not at all), and it eat down cabbages. They are the perfect size for a family sized batch of coleslaw or sweet and sour cabbage.


If you need additional cabbage cooking inspiration, check out the Wintergreen Farm cabbage Pinterest board.

Because this week's blog post isn't about cabbage, it's about kale.

I know the 2014 blog posts have been focused almost entirely on greens this season. I am continuing that trend.

Last week, I was specifically inspired to write about greens by Chef Arlene. This week I've been inspired by NPR. Marketplace declared Peak Kale this weekend. Check out the story. They even back up their declaration with data from Google Trends. Peak Kale happened January of this year. (As an aside, I love that Google Trends exists. Google is undeniably creepy, but it is such an awesome kind of creepy.)

While I actually have seen evidence of the truth of Peak Kale--kale love is ever so slightly diminished this market season when compared with previous seasons--I feel NPR's (lighthearted) declaration requires a (equally lighthearted) response. A response in support of kale.

In honor of Peak Kale, we have christened Kale Peak.

Planting our flag on Kale Peak.
Some winterbor about to summit.
Peak Kale peaks down from Kale Peak.
In further celebration. I'm offering a peak of our favorite quick kale dish. This is the simplest way I know of to make a meal out of kale (short of eating whole raw leaves, which we also do from time to time).

Scrambled Eggs and Kale

This is most often served as lunch at our place. Especially on busy harvest days. I'm not actually going to call it a recipe because it only has three ingredients and three steps (it also has infinite optional ingredients--onions, garlic, dried or fresh tomato, parsley, hot pepper...). The ingredients are butter, kale, and eggs. The steps are melt butter, saute kale until it is just tender, stir in beaten eggs and cook until eggs are set. I doubt anyone in the universe actually needed me to explain that :)

Peak Kale Farmer Lunch